Element Spotting (4)
Since my last post regarding Elements, I have gotten new tires, replaced the instrument cluster lights, and started building backrests for myself and (hopefully) other E owners to enjoy. I also found a few goodies at the junkyard for my E that I'll show off later in the post.
01: Tires
The Walmart folks have always treated me very well and they certainly took care of me here. The back two tires (as I suspected) were up for replacement while the front two still had good tread, but one of them had been patched previously. I elected to keep the remaining good tire in the hopes of getting another wheel and making a full-sized spare. Speaking of, the temporary spare tire is present, but it is original—that is, 21 years old—and I plan to replace it at some point.
02: Wheel Alignment
New tires with an unknown alignment can equal bad tires quickly so I wanted to schedule an alignment ASAP. I called around and most places wanted $150 or more! I called a local shop a little farther from my job, but closer to my house and they quoted me $90. I dropped my car off soon after, they took care of it quickly, and I picked up my car later that day.
Now that I have new tires and a fresh alignment, I can relax a bit more with driving the Element more frequently. I've been driving it to work two days a week and I'm getting much more used to the handling quirks of it compared to my other car.
With the big ticket issues are out of the way, I could focus on the smaller items that need attention; differential fluid, transmission fluid / filter, and replacing some of the worn rubber components.

03: Rear Differential Fluid
I took care of the differential fluid last Saturday. I jacked up the E, popped both 3/4 drain and fill bolts loose, drained the dark-cherry colored fluid, cleaned and inspected the bolts / washers, torqued the drain bolt, pumped in 1.1 quarts of Honda Genuine Dual Pump II fluid, torqued the fill bolt, cleaned up, and called it an afternoon. It was a cramped job, I got bit by bugs, and I got diff fluid in those bites, but it wasn't hard and I'm glad I got around to it.
04: Junkyard Goodies
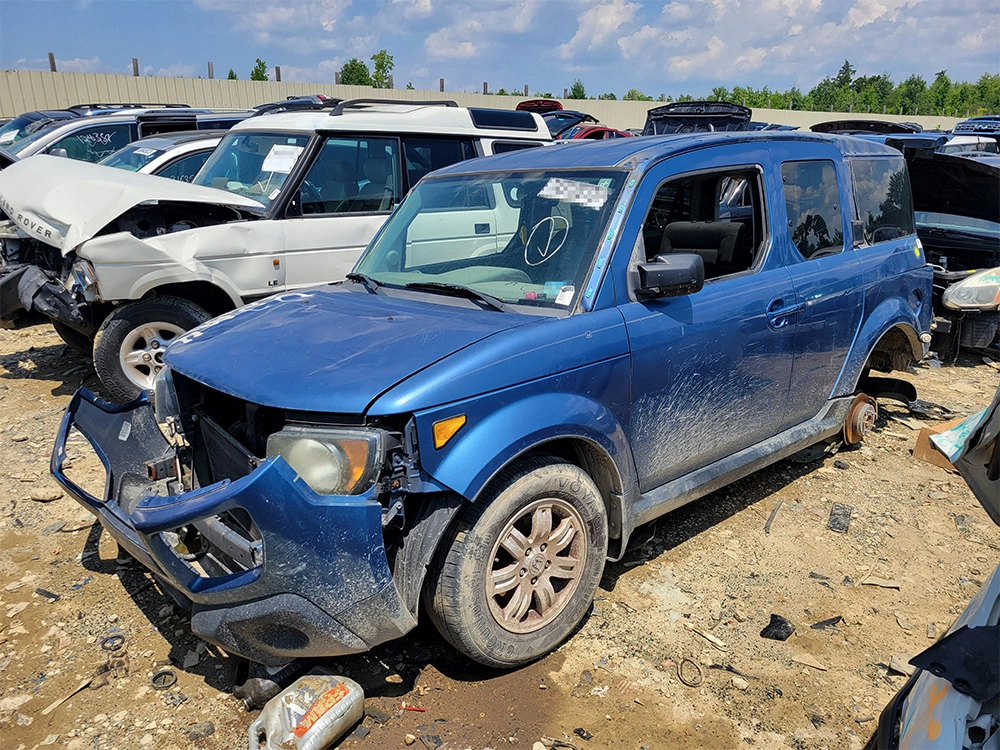
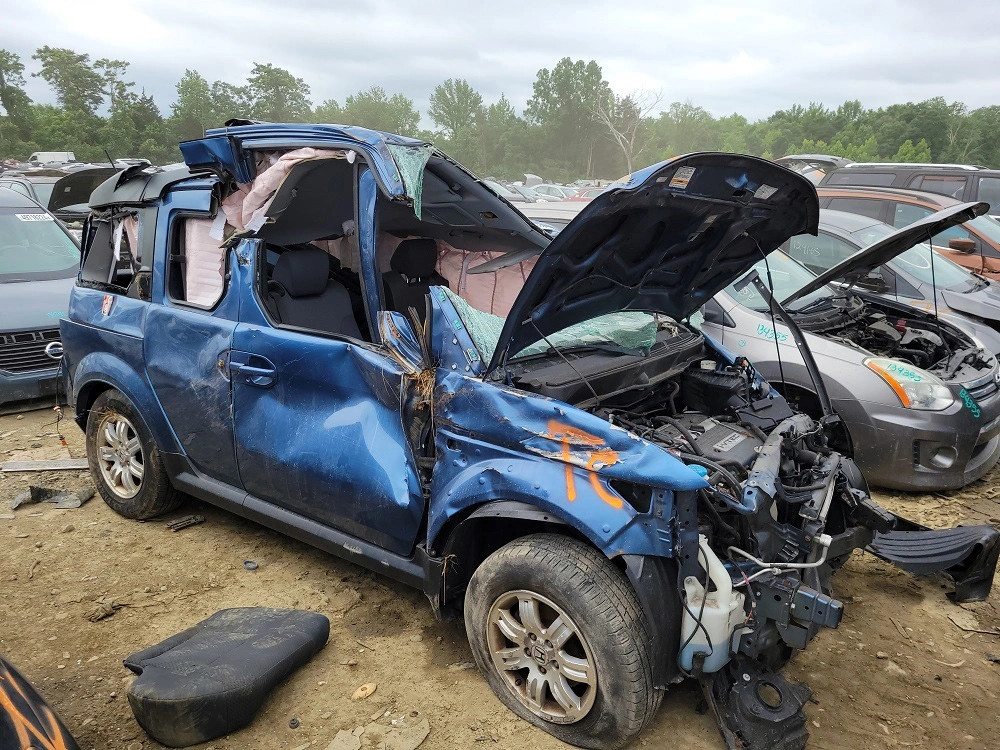
On Sunday, I found myself at the junkyard again and to my delight, I ran into an Orange 2003 Element EX (sounds familiar) that was parked in the intake area of the u-pick lot. A new addition. Weirdly enough, I recognized the car. I saw it online a few days prior on an auction site for busted-up cars. I recognized it by the dumb sticker on the back window.

I squeezed between it and the cars around it, opened the crushed-in door through the open window, and crawled inside. I didn't see much of anything good at first, except the other seat lock cover piece that I needed. Both seat lock covers in my car were deteriorating and had ripped rubber sections so I wanted to replace them. I found a complete set between two E's at the junk yard and at $4 a piece, I couldn't pass them up. A little bit of dirt removal later and they were installed and looking snappy. They don't look new, but they certainly look better.

In that Orange E I also noticed an original Element-branded OEM floormat. I excitedly brushed the stagnant water and broken glass off of it, and removed it from the cab. I then noticed the other two pieced of the three-piece set in the back, crushed under the seats. I rescued all three pieces, threw them on my shoulder, and made my way to the checkout line. I've previously seen complete floormat sets—and even individual mats—sell for north of $200. I walked away with a B+ set for six dollars. Later, when I got home, I hosed them off, let them dry, and installed them without issue and they look gooooood.

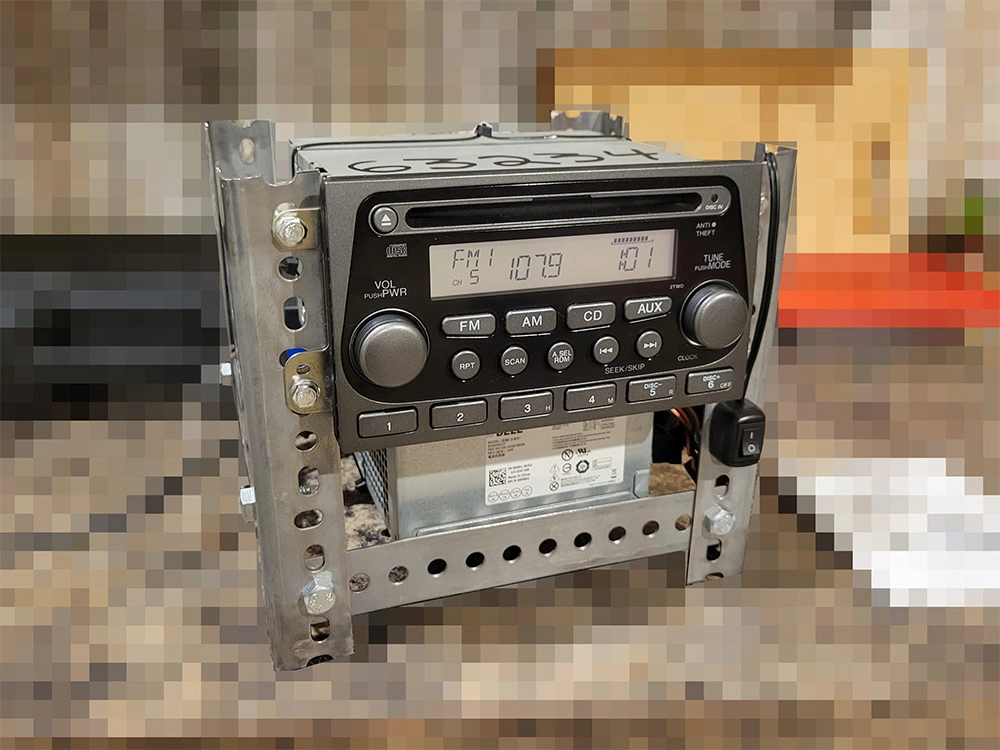
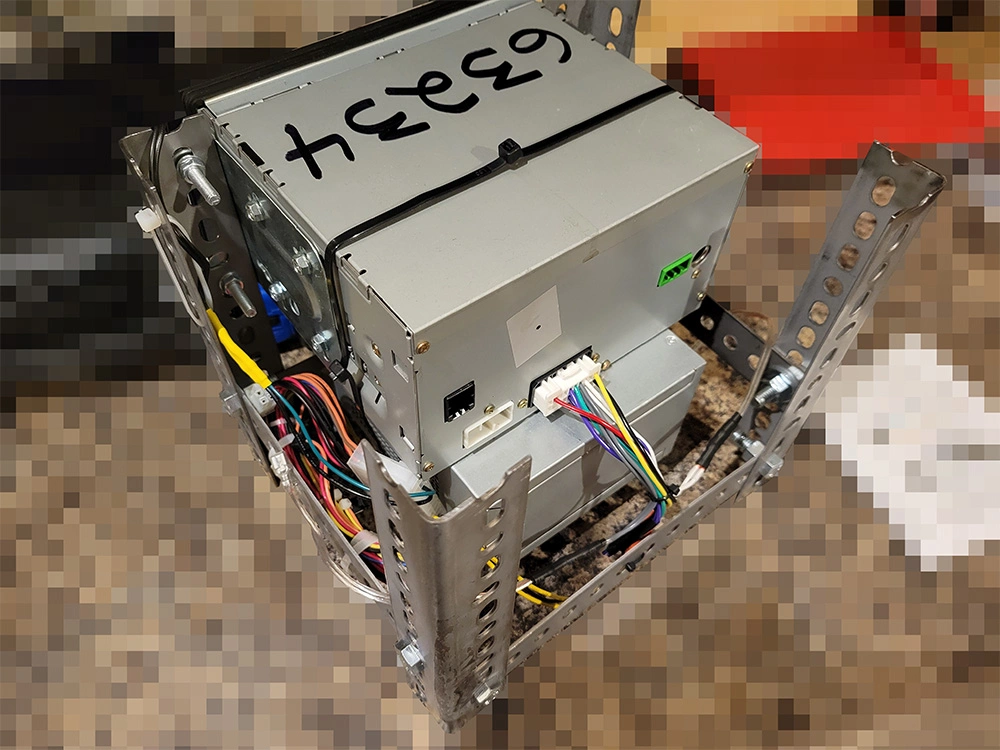
After securing the rare mats, I returned to the yard and considered the Android head unit in that I found alongside those floor mats. It was about $190 (ATOTO S8 on Amazon) new and seemed to be in good shape, but it was a gamble to see if it worked and the previous owner's wiring left a lot to be desired. I grabbed it anyway and they only charged me about $20 for it.
That evening, I plugged it up to my Element radio tester and it worked! I factory reset it, cleaned it up, and spent about thirty minutes rewiring the harness so it wouldn't catch my car on fire. I removed my 2008 Element radio, put it in storage, and replaced it with the new Android unit. It went in easy, looks clean, and sounds great. I even figured out how to enable Developer Options on it so I can connect my laptop and debloat it.
If you have an ATOTO S8 or a similar Android head unit and would like to enable these options: Go to Settings and quickly tap Users and Accounts four times. This should unlock the Developer Options menu.
05: LED Instrument Lights
A few days back I decided to upgrade the little bulbs in my instrument cluster and HVAC controls with Amber LEDs to match the Orange exterior and to brighten those panels up a bit. Popping the covers off and removing the old bulbs was easy enough. The replacements are fairly easy to install, but do keep in mind that they have a polarity that isn't really notated anywhere. Try it one way, if it doesn't work, rotate 180 degrees and try again. A good indicator that you're on the right track is to leave your driver's side door open and to turn your dash lights on and off. If the car makes a loud noise, it means it detects lights. If it's silent, it doesn't detect your lights / cluster. Also, for the T5 LEDs, try to use the original socket connectors as the one's from Amazon didn't seem to work for me. Be careful pulling the bulbs out of the old sockets, you can easily shatter them and send glass all over your car. I recommend getting a thin but stiff metal implement and pushing the bulbs through the hole in the bottom of the socket or rock the bulb out with your fingers.

If you'd like to upgrade the LEDs in your Element, you'll need three sizes; T3 Neo Wedge, T4.2 Neo Wedge, and T5 Wedge. They come in a few different colors and a whole set for all of the dash lights should cost under $50.
05: Moonroof Delete Kit
I don't mind that my E has a moonroof, but I really don't see myself using it unless I'm sleeping in it. For those hot summer days when it's sitting in a parking lot, I want something to keep the interior a bit cooler and keep the sun's rays off of my plastic and upholstery. I removed my moonroof, covered the hole in craft paper, traced the hole with a scalpel, taped this squircle to a piece of cardboard and windshield reflector material, cut it to shape, taped the edges (most of them, I ran out of silver duct tape), and stuffed it in the hole (after putting the glass back in). It's not pretty, but it works well. Below is the result:

06: Tailgate Backrests
I recently purchased a new 3D printer as my old one was annoying to keep level and had a host of issues (I sold it to a coworker for a couple of bucks and he likes it). While searching for some things to print, I found this Honda Element Tailgate Backrest by Kirk Makes Things. He shows how it's easy to cut some 3/4 metal conduit to 41-7/16" (1053mm), print these connector and spacer pieces, and add some gym foam rollers for padding and you'll have yourself a nice little backrest. Now you'll have a comfier sear for those times when you want to watch the sunset from your E's tailgate. He sells these end pieces on Etsy and you can get the rest of the parts easily.
My coworker suggested to use a pool noodle instead of the expensive foam rollers that Kirk mentions. I did some research and found that pool noodles come in a few sizes, one of the common ones having an inner diameter of 3/4 inches, perfect! I got some metal conduit, some pool noodles, and I 3D printed a few sets of the end pieces. The end result has a similar comfort level to the rollers, can be a few different colors, and makes the unit cost about half compared to the foam roller variant.
I've considered selling some of these premade backrests for a reasonable price on eBay or Etsy or something, but haven't looked into shipping costs yet. Currently, I have half-a-dozen or so in the back of my E until I decide how I want to sell them.

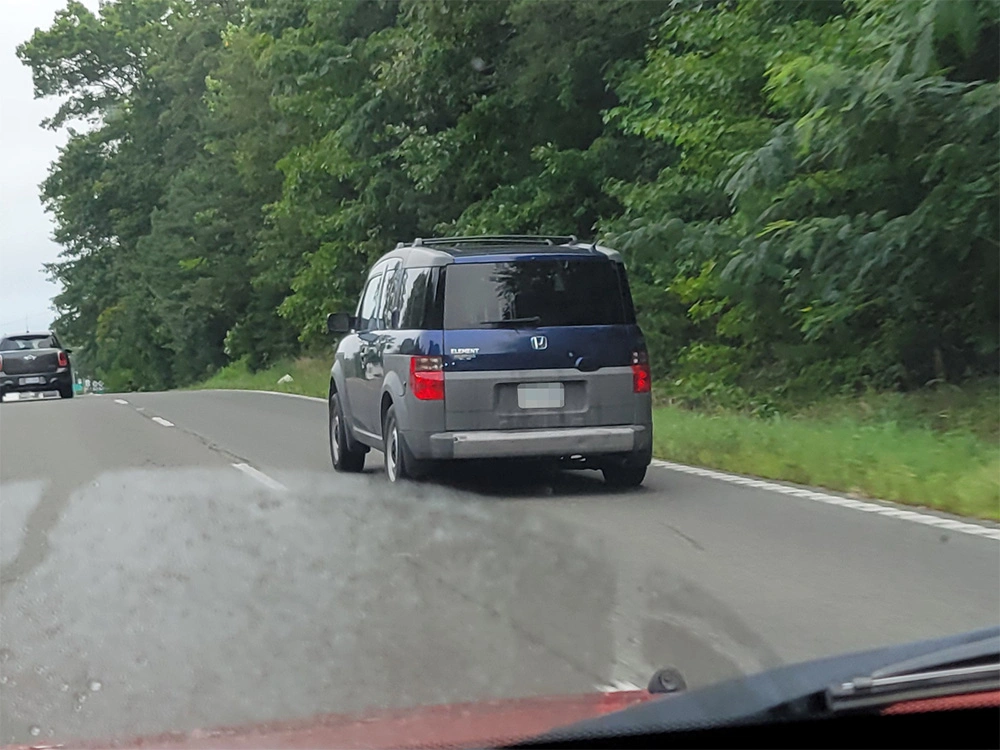
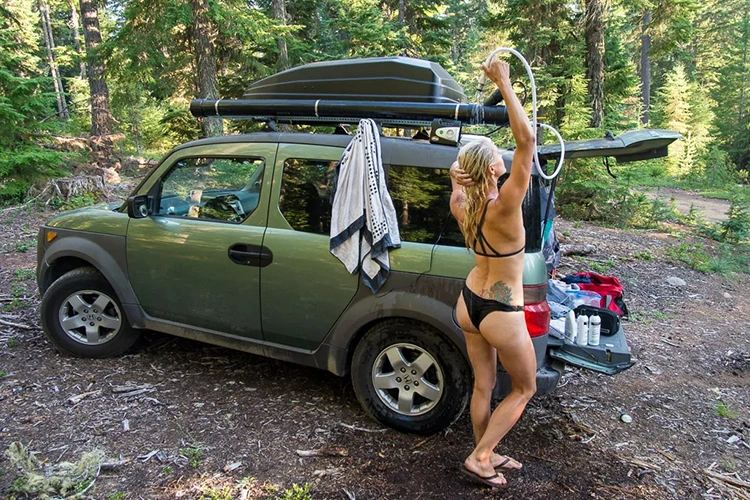
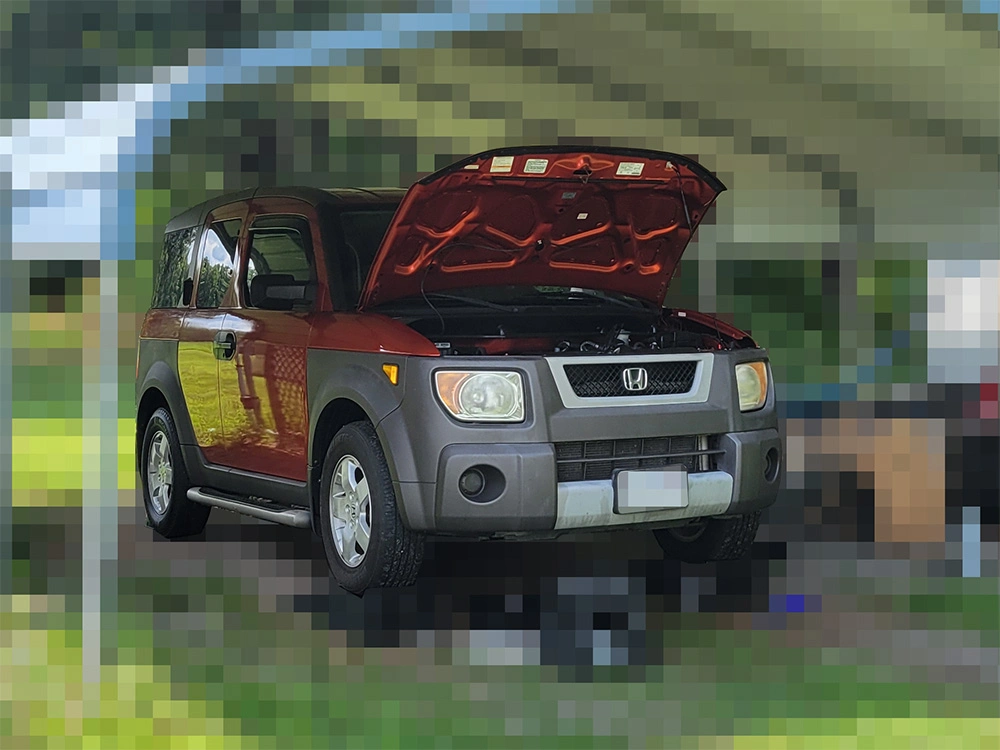
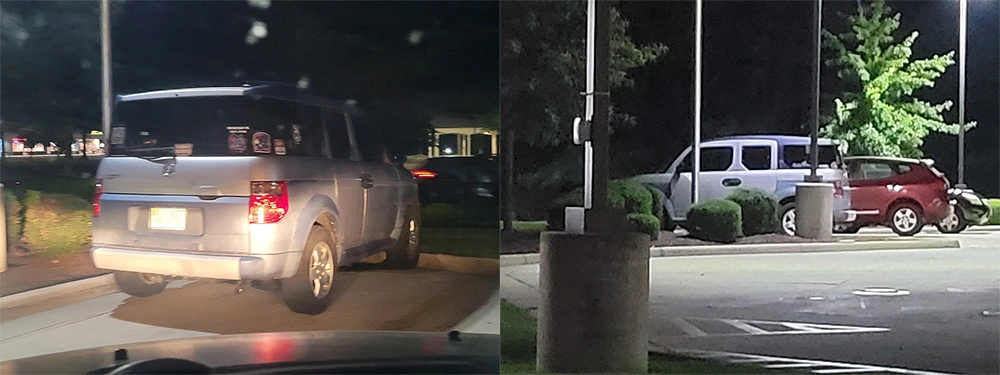
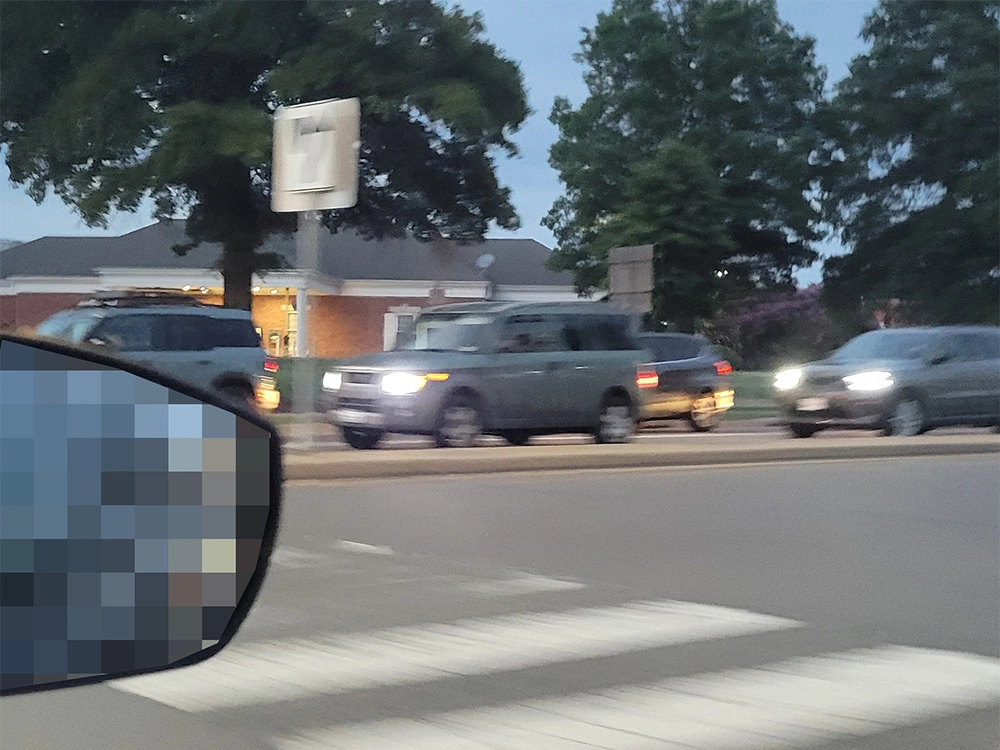
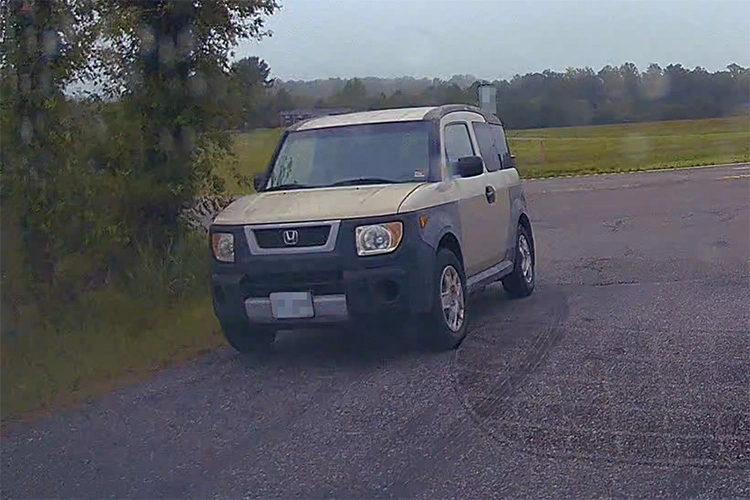
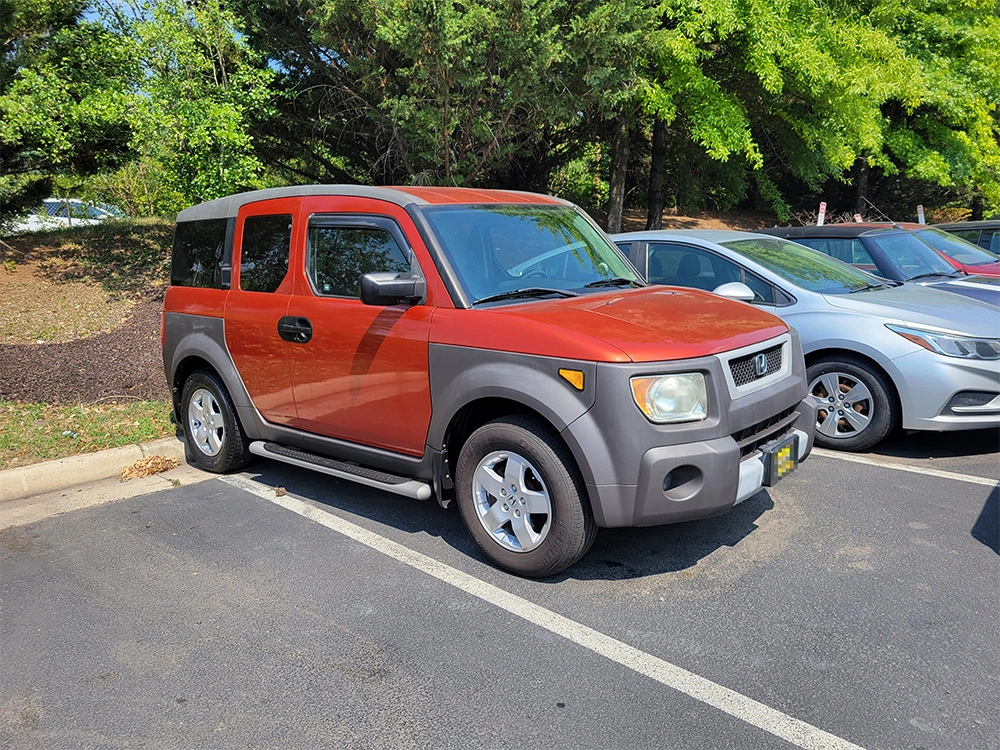
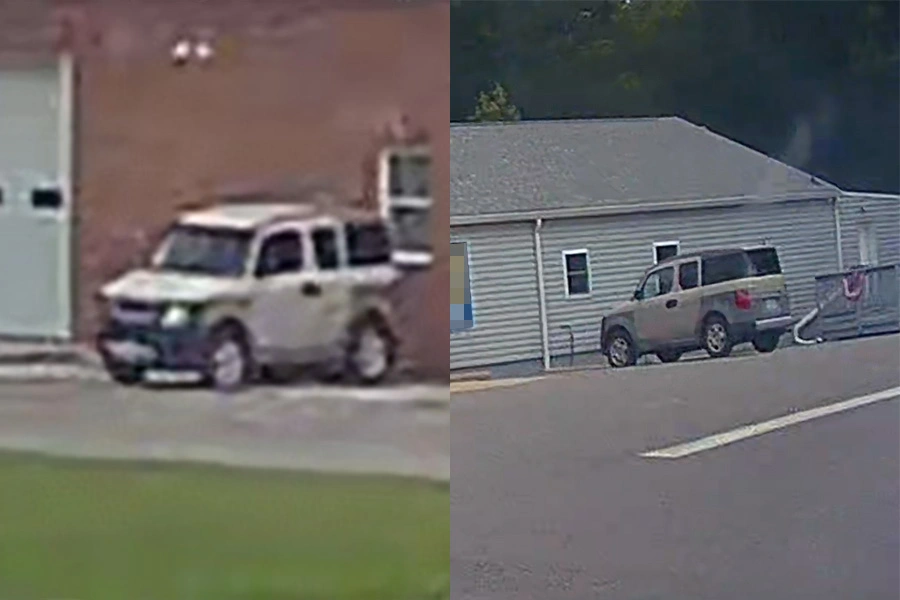
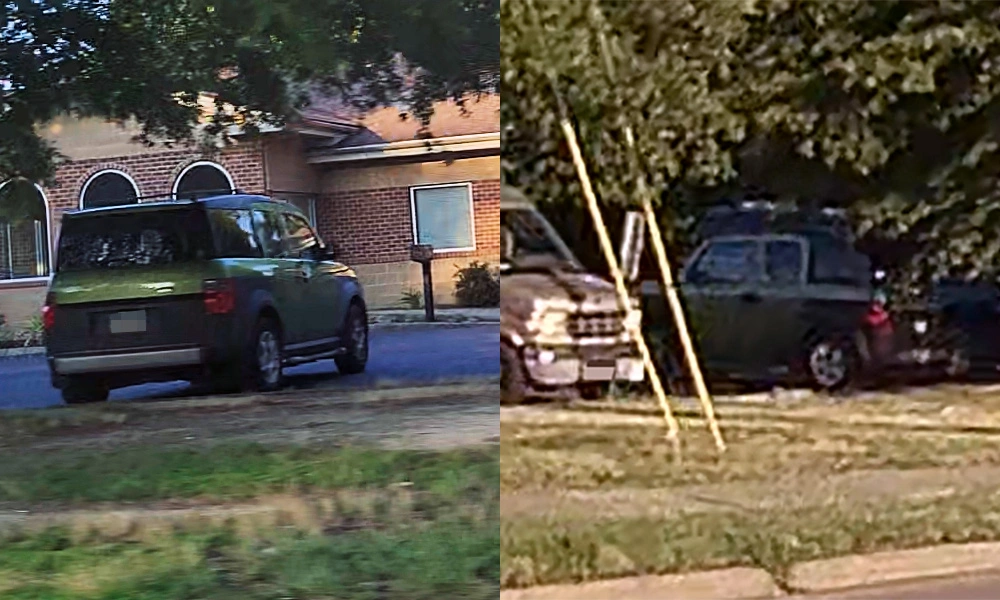
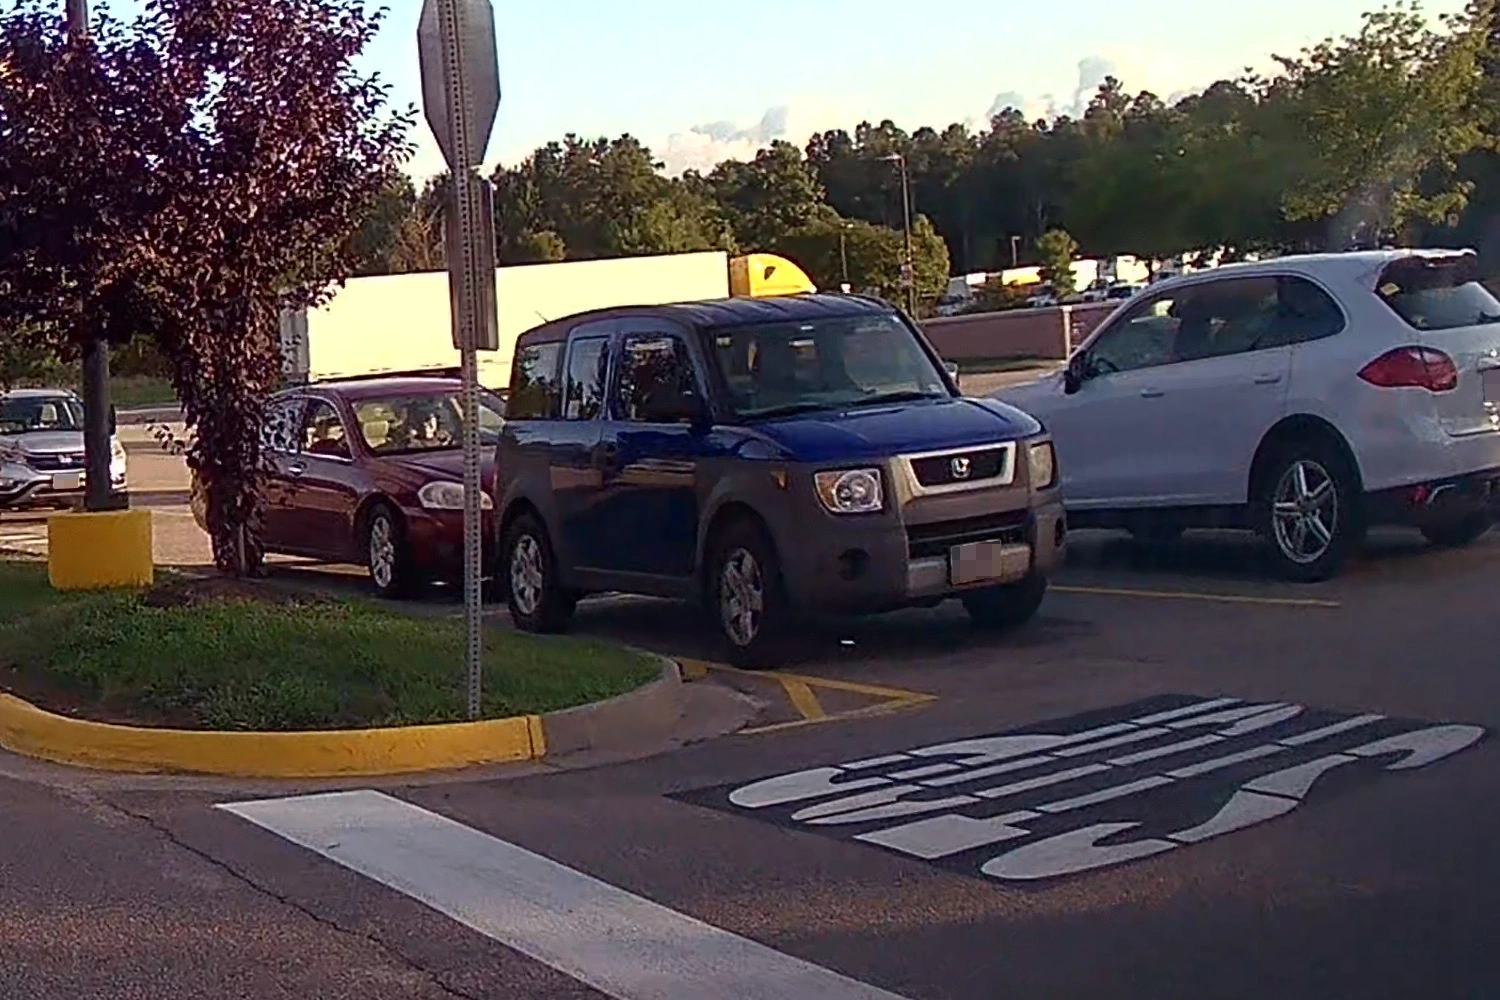
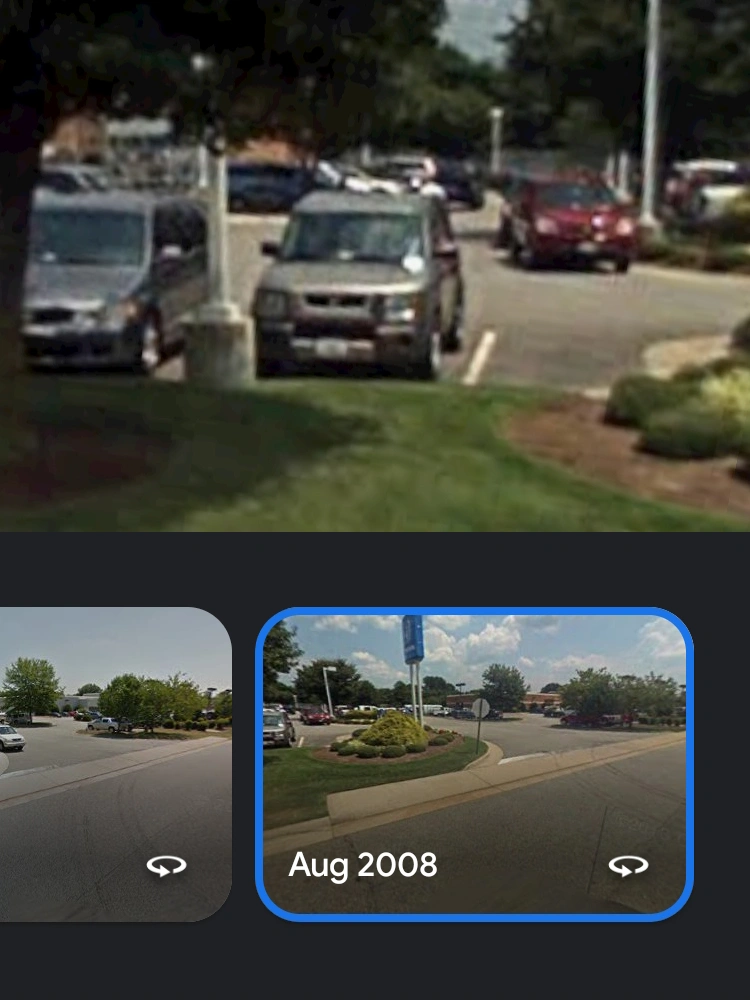
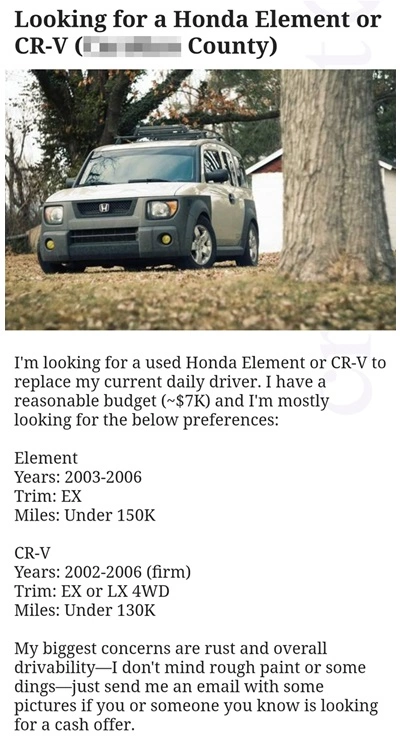
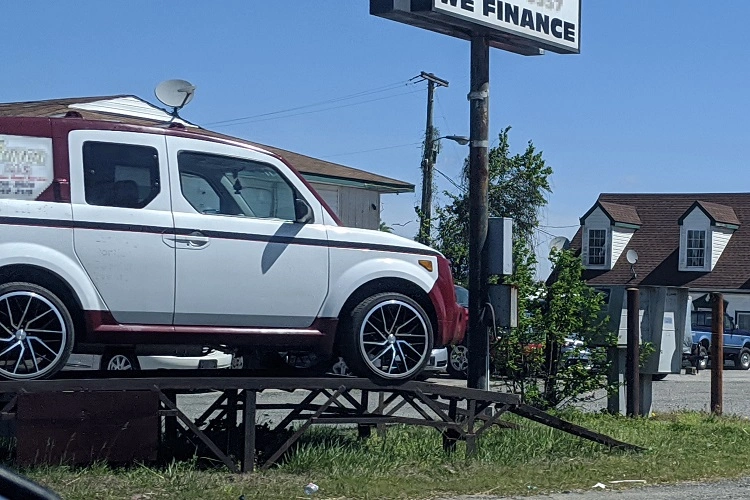
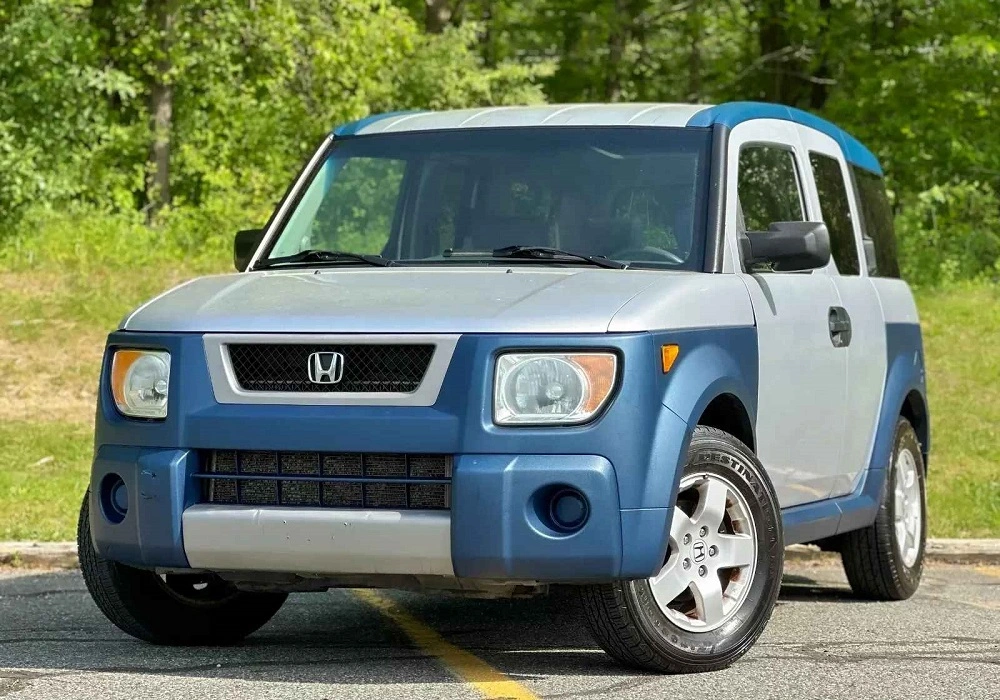
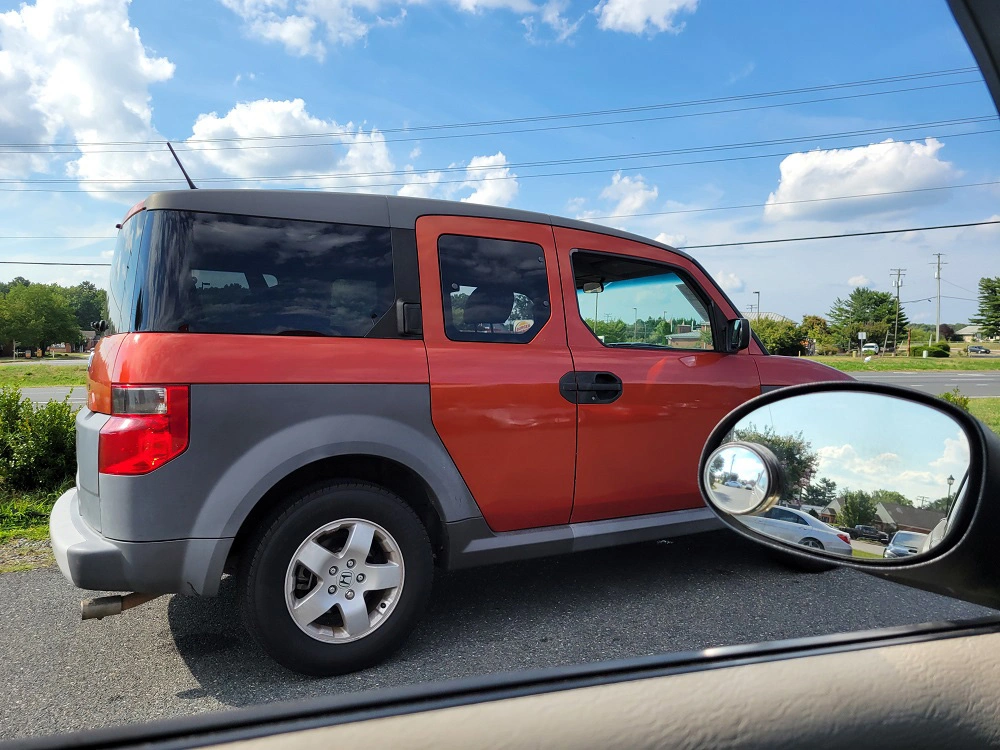
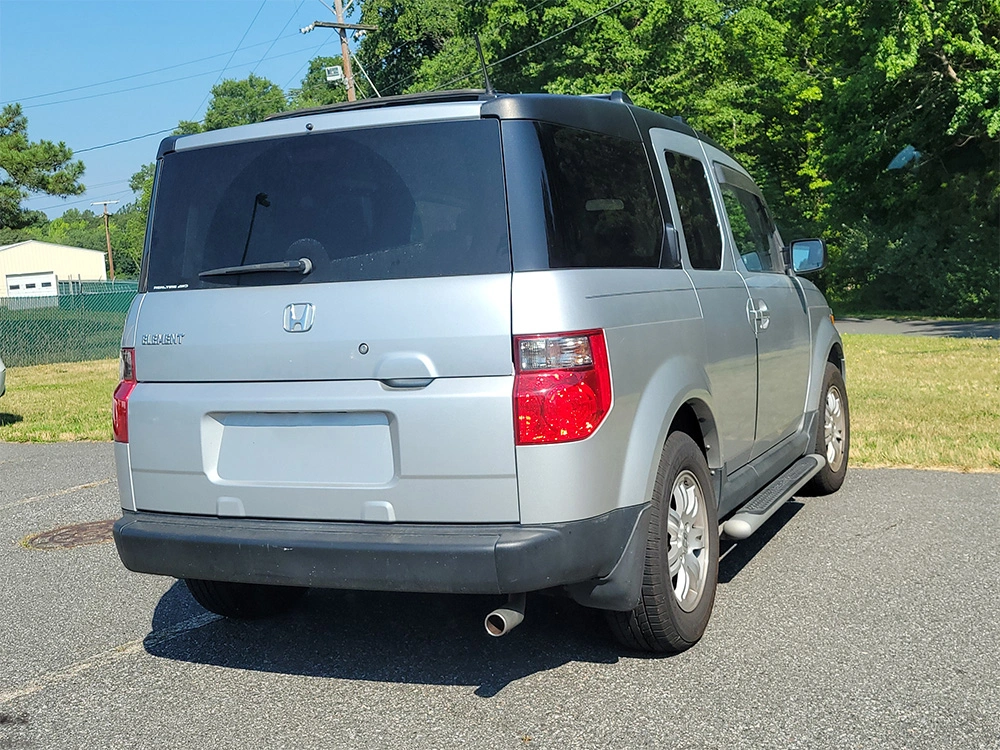
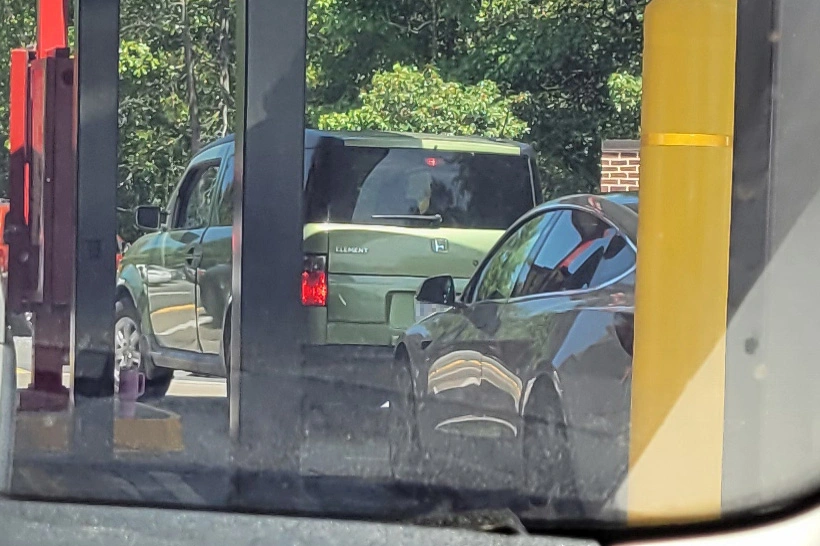
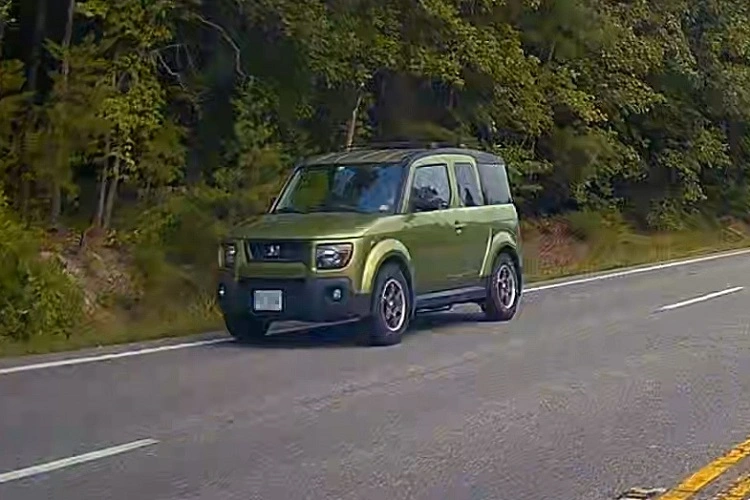
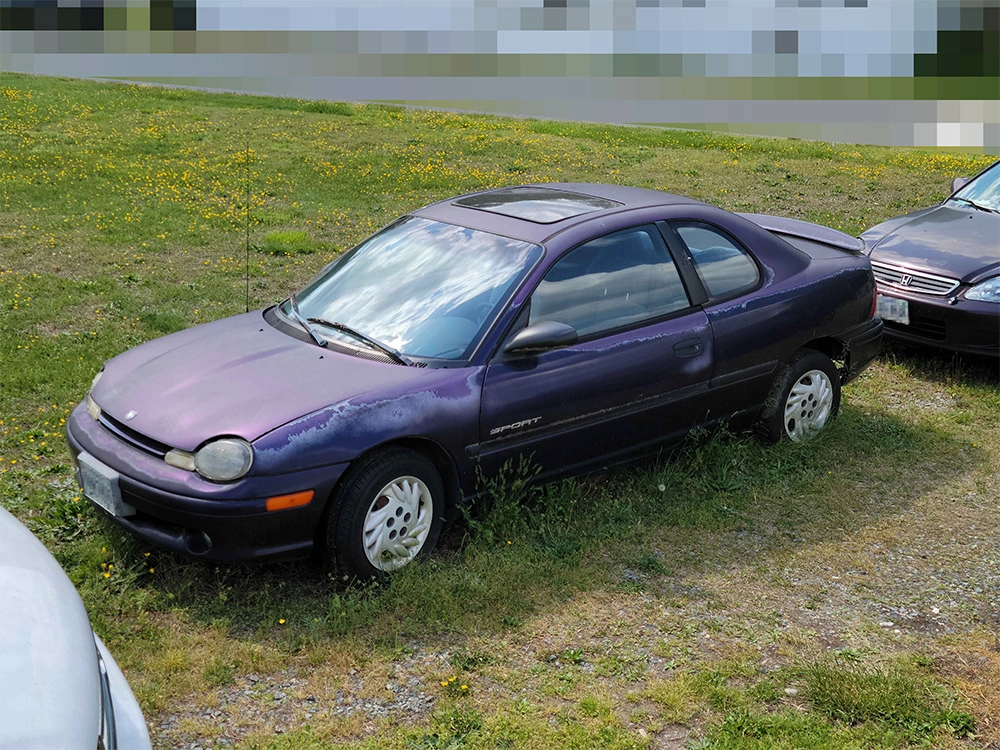
The washer fluid, coolant, brake fluid, and transmission fluid are the only ones I haven't taken a look at yet. Transmission fluid and filter will probably be first, then I'll check out the others. I'm also attempting to recondition the old headlight lenses that I have replaced already. I'll make sure to write it all down in the next entry, but until then I have quite a few new Element photos that I've taken, been sent by readers, and that I've found on the internet, please enjoy: